Web Installer Installation
1. Download Installation Program to Target Server
The platform provides multiple versions of installers. You can choose the corresponding download address according to your system version.
ubuntu/x86_64
https://repo.ainformat.com/downloads/installer/ubuntu/informat-next-ubuntu-web-installer.tarredhat7/centos7/x86_64
https://repo.ainformat.com/downloads/installer/centos/7/informat_next_installer_centos7_1.0.zipredhat8/centos8/x86_64
https://repo.ainformat.com/downloads/installer/centos/8/informat_next_installer_centos8_1.0.zipExample: Download the redhat7/centos7 installation program to the target server
curl -O https://repo.ainformat.com/downloads/installer/centos/7/informat_next_installer_centos7_1.0.zipTIP
Note: The command parameter -O is not zero
Extract the archive
unzip informat_next_installer_centos7_1.0.zip2. Open Firewall Port
To access the installer program in the browser (default port: 8080), you need to modify the firewall configuration to open the port
$ firewall-cmd --zone=public --add-port=8080/tcp --permanent
$ firewall-cmd --reload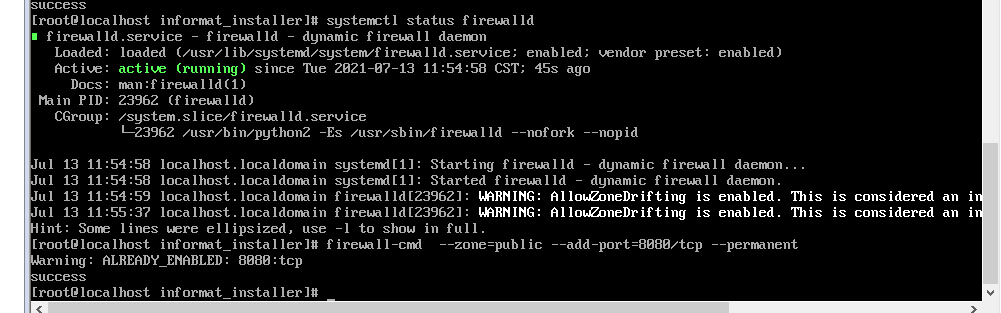
3. Download Compilation Dependencies
# centos
sudo yum install -y autoconf libtool make gcc openssl-devel curl-devel zlib-devel gettext expat-devel policycoreutils-python-utils

# ubuntu
sudo apt-get install -y autoconf libtool make gcc libssl-dev libcurl4-openssl-dev zlib1g-dev gettext libexpat1-dev4. Run Installation Program
$ cd informat_next_installer
$ chmod +x start.sh
$ ./start.sh
:: Spring Boot ::
INFO 4699 --- [           main] c.i.i.InformatNextInstallerApplication   : Starting InformatNextInstallerApplication v1.0.0 using Java 11.0.7 on localhost.localdomain with PID 4699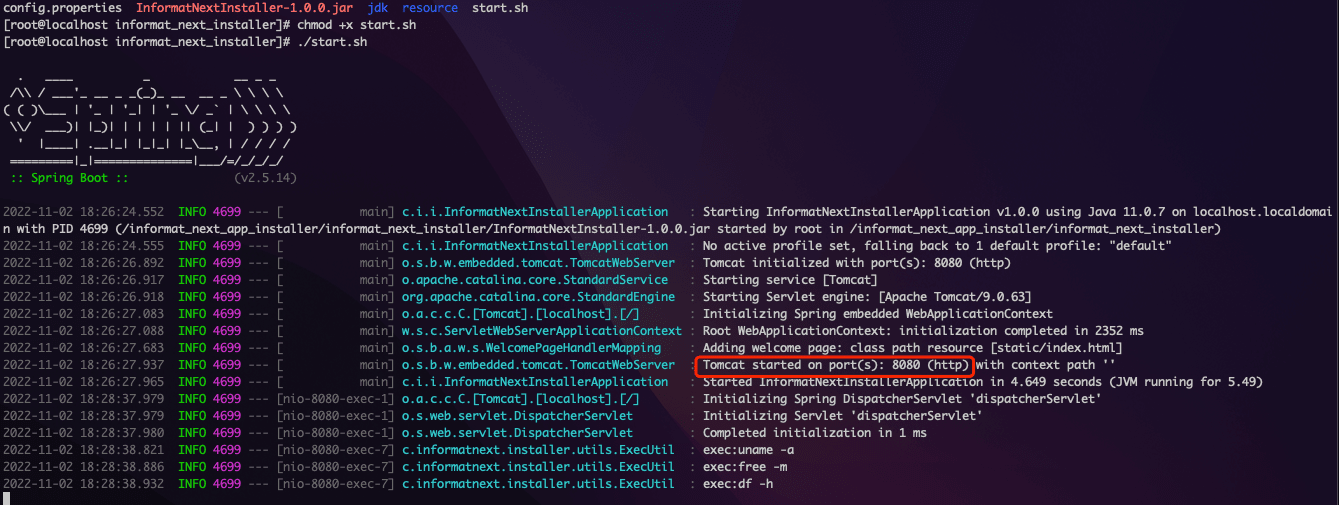
5. Access Installation Program via Browser
Default URL: http://server-ip:8080
6. Download Informat Installation Package
Download the installation package from the Informat Installation Package Source Address
7. Upload Installation Package
Click on the "Installation Upgrade" menu, select the file to upload, and start uploading.
After uploading is complete, click 'Next' to enter the 'Confirm Installation Information' step. 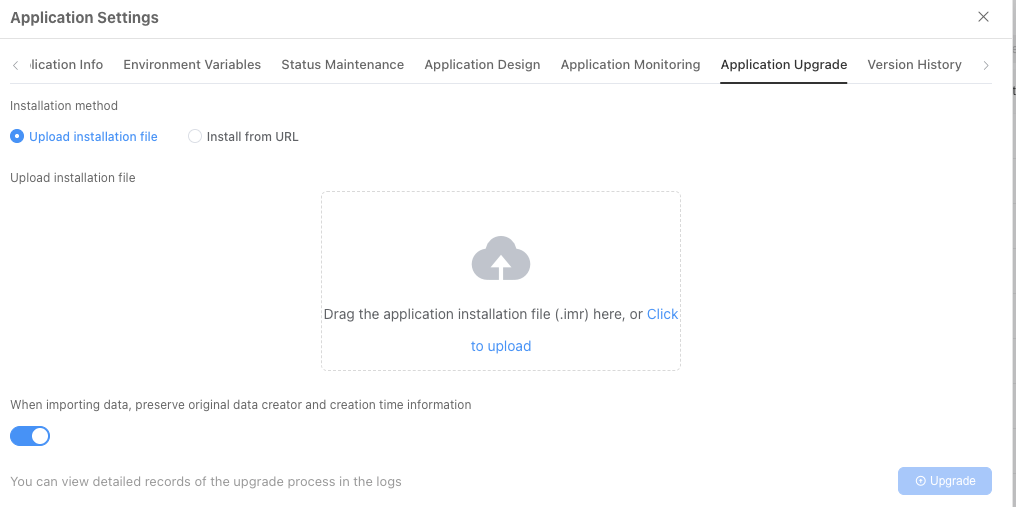
8. Confirm Installation Information
Click 'Next' to enter the 'Select Installation Path' step.
9. Select Installation Path
Click 'Next' to enter the 'Execute Installation Program' step.
10. Execute Installation Program
After confirming everything is correct, click the 'Confirm Installation' button.
11. Installation Complete
12. Post-Installation Configuration
After enabling the firewall, you need to open the following ports:
# Port 80 is needed for HTTP access
$ firewall-cmd --zone=public --add-port=80/tcp --permanent
# Port 443 is needed for HTTPS access
$ firewall-cmd --zone=public --add-port=443/tcp --permanent
# OnlyOffice file preview service port
$ firewall-cmd --zone=public --add-port=9002/tcp --permanent
# MinIO management background port (open if needed)
$ firewall-cmd --zone=public --add-port=19002/tcp --permanent
# RabbitMQ management background port (open if needed)
$ firewall-cmd --zone=public --add-port=15672/tcp --permanent
$ firewall-cmd --reloadOpen the URL in a browser and access it using the corresponding IP address. If access is normal, it means you can enter the Informat system normally.
At this point, the installation or update of the Informat installation package is complete.
TIP
Do not exit during application installation or upgrade.